So much happened today.
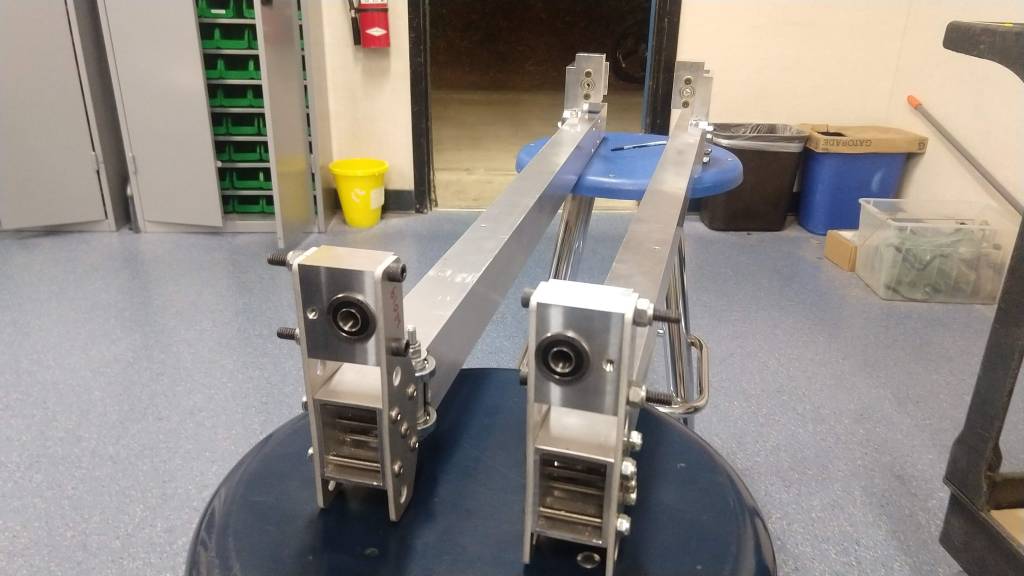
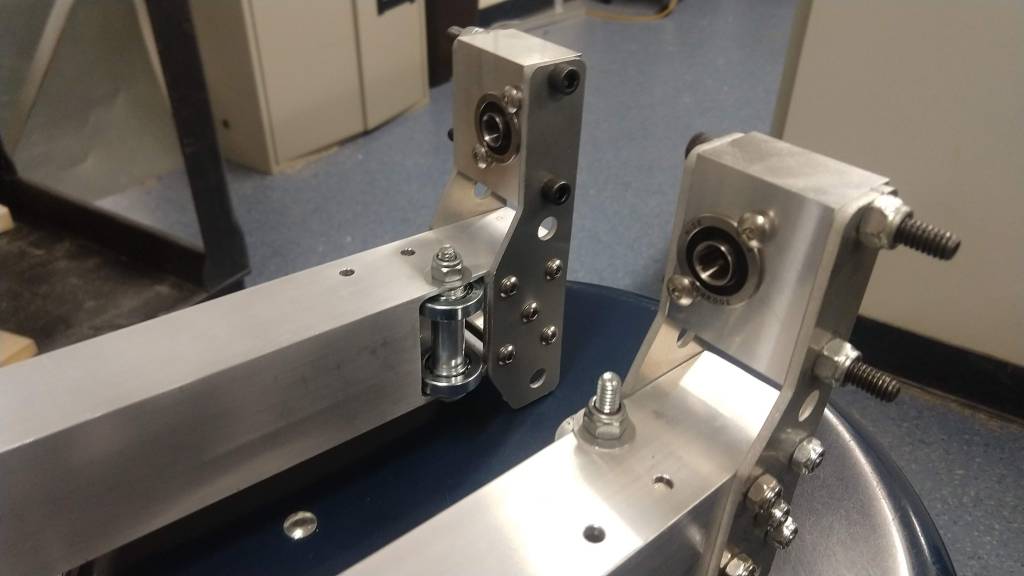
We started the day with the primary goal of attaching the intake and tube onto the robot and wiring the robot. Some parts still needed to be made for the tube adjustment mechanism and several parts tapped and/or turned (done on the lathe) for the tube and intake. We started off and were able to finish several pieces like the tube pivot blocks and lathing the screw for the adjustment mechanism. We were also able to get the CNC to work and make pieces throughout the day but more on that later.
At the end of the day, we ended up being able to basically finish all the pieces for the tube, tube adjustment, and intake, with a few exceptions. Various sizes of hex shaft for the intake and tube were cut out of hex stock with a hole in the middle but were never tapped. This will have to be quickly done first thing on Monday so that assembly can continue. However, despite this, progress was great. The intake was completely assembled (but not attached to the robot) and the tube is about halfway assembled. Because of the extra time we are getting all throughout the week to work, we will be able to finish assembly (and hopefully also be able to wire the robot) on Monday.

In addition, we also had our first two climber beams for stage one come in and assembly started for them as well. Throughout the first half of this following week we should be able to complete all the pieces left for the climb and assemble it off the robot. Placing it on the robot should be a simple matter of slipping a hex shaft through.

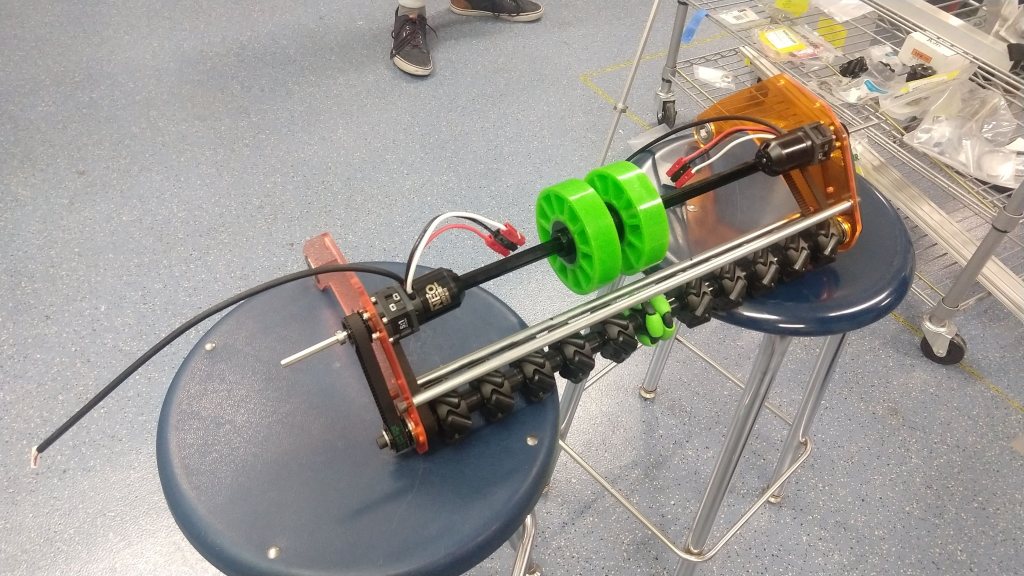
In addition to building the robot, build also worked on finishing the intake prototype (prior to putting the mecanum wheels on the actual intake). They were able to test it now from two sides and with a cutout of sorts in the middle for the ball to go through. Although the build kids did not test jamming with multiple balls (which was the original purpose of this), they were still able to prove that one ball can smoothly go through. We should, in any case, still be able to test ball jamming in a couple days with the actual robot.
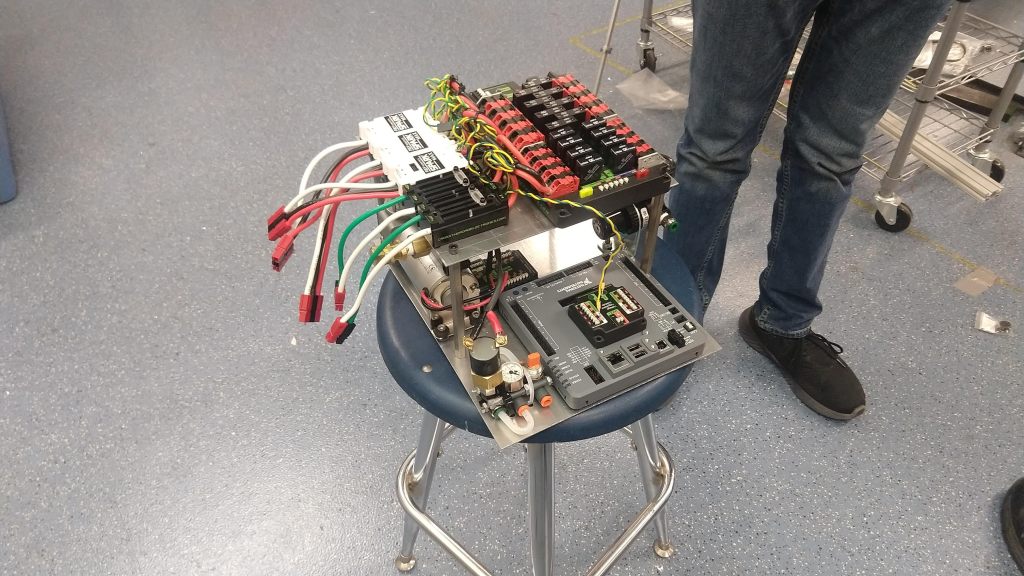
Electrical was also working today and had significant progress with the board. It seems to be almost complete with only a couple tweaks needed to make it fit inside the robot. Everything is a tight fit this year within the robot because of the tube taking up so much space. When wiring, electrical will also have to make sure that all the connections are solid so that we don’t have the same problems as last year. Then we had consistent issues with wires disconnecting during matches that persisted throughout the season. This was mostly a product of the Neo motors’ many wires, but also of some bad crimps we had. Things should be much improved this year though as we use Anderson connectors and zip ties along with them. We will also be tightly securing out encoder wires which were a big problem last year because of the fragile extension connectors.
Now I also want to talk a bit about the CNC. Over the past couple of weeks we’ve been trying to tune it and get it to work just right and we were just now able to do it. I’ll go over some of the lessons we’ve learned and things that must be done to have the CNC work properly.
It all starts with the programming and many lessons were learned there first. The largest of them all being the speed, plunge rate (how fast it goes up and down), and the feed rate (how fast it moves side to side) of the bit. We found that 13,000 rpm with 5 in/min plunge rate and 30 in/min feed rate (although a slower feed rate might do the job too) works the best for the 0.25 in bit (which is currently what we’re using to cut all our pieces).
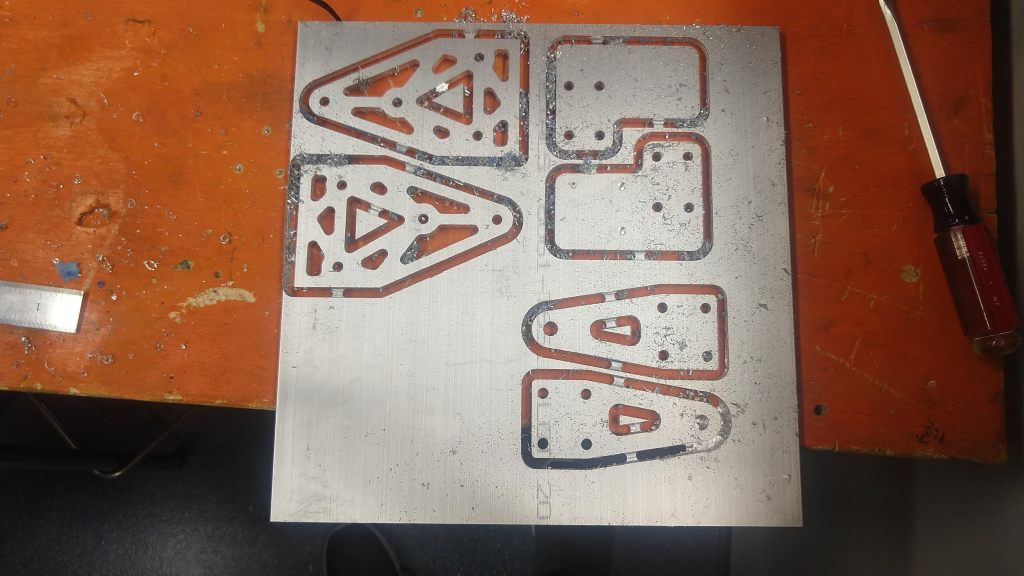
We also realized that the ideal order for making parts is going from the inside out. That is, drill the holes first, then make any “pools” (cutouts in weird shapes on the inside of the piece), and finally cut out the outline. That way the piece doesn’t move when you’re making the insides and everything is basically already done when you’re cutting it out.
Another final note about the programming is the depth which you cut. For some reason the CNC is off by a bit (depth-wise) and when programming it you have to set the cut depth to 0.01″ less than you want it (so if you’re cutting 0.25″ material, set it to 0.24″ cut depth). This way it goes right through the metal and doesn’t sacrifice on tab height.
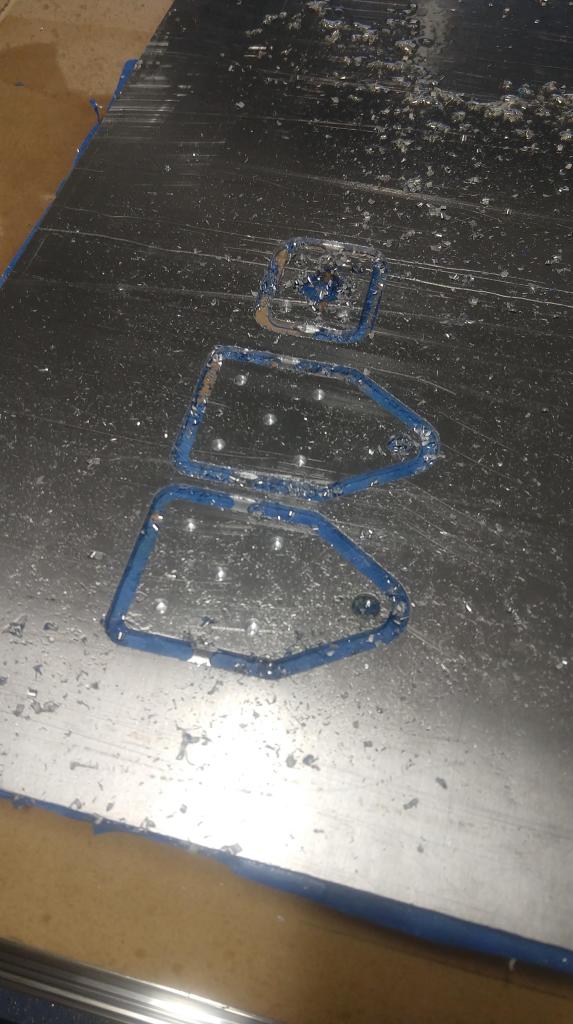
Now if we look at the actual physical setup, we learned a lot of lessons there as well. First and foremost, the masking tape adhesion method (where you stick masking tape to the table and the bottom of the piece, cover the back of the masking tape with gorilla glue, and then stick the plate to the sacrificial board) works the best when every bit of the entire sheet of metal (with special emphasis on the area underneath where you will be cutting the piece) is covered and done with extra care. We cut pieces out of three different materials over the course of the whole day and there was not even the slightest movement in the piece. Making sure both sides are covered in glue rather than doing one side in glue and the other in spray adhesive worked the best for us.
In addition to this, we also saw that a hefty use of WD-40 worked perfectly as machining oil for the bit. We made sure to cover the area where the cut would be done with WD-40 right before starting the cut and it made all the pieces have a nice finish and excellent cut quality.
The final thing has to do with the way we drill smaller holes. We found that the one flute 0.25″ bit works great for holes >0.25″ and for cutting our perimeters, but we were also able to re-purpose a 3/16″ end-mill we had with a 3/8″ shaft diameter and put it in our 3/8″ collet. We used this only to drill out holes (although in theory it should be able to cut more). Then, if we need holes that are greater than 3/16″ but less than 0.25″, we can just drill out the 3/16″ hole by hand.
All in all, these lessons led to some pretty nice pieces being made on our CNC today.
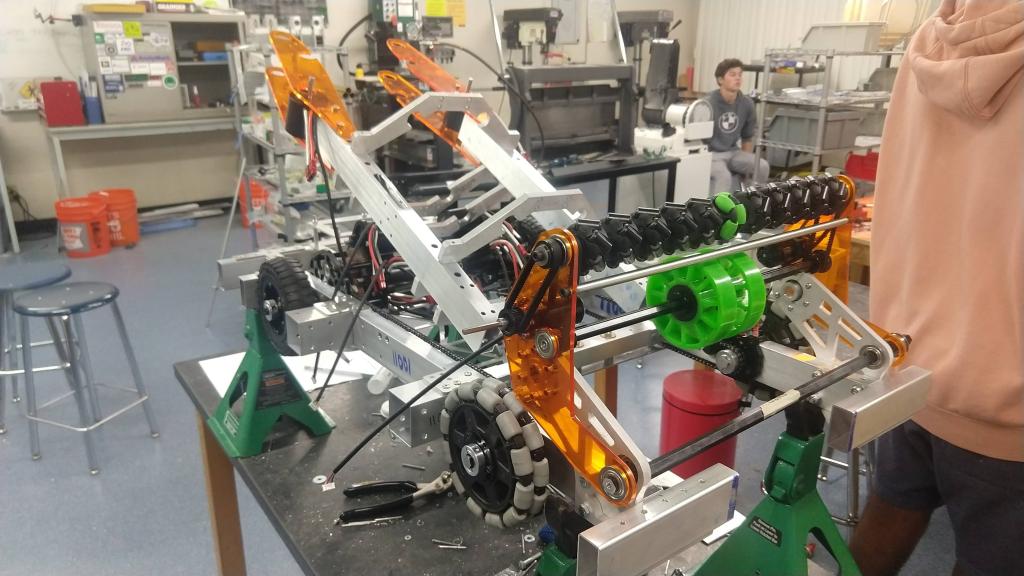
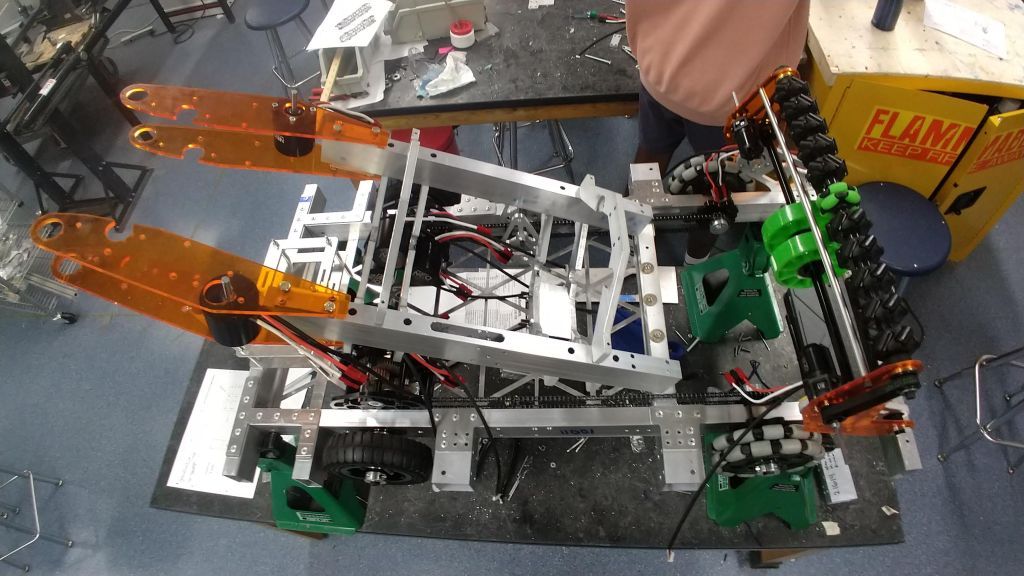
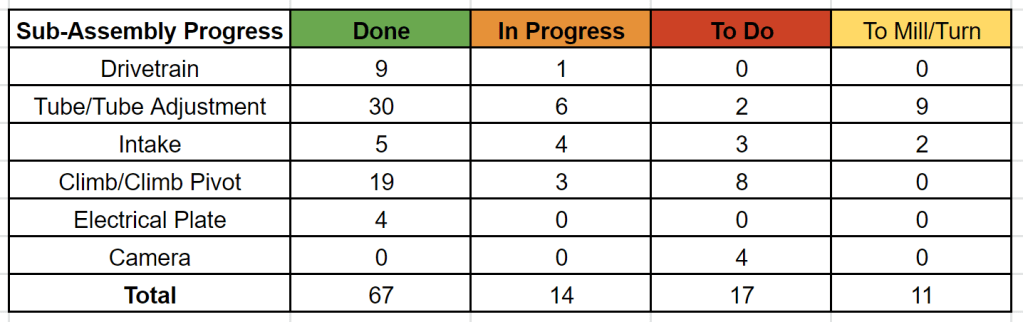
Overall progress for the robot is good as well as we turn our heads more towards the climber. You can see that things are in their final stages and that there are only a couple more parts to do and a little bit more assembly to complete. Again, this is rough and some parts are done that aren’t marked and some not done that are marked accidentally, so take that error into account.
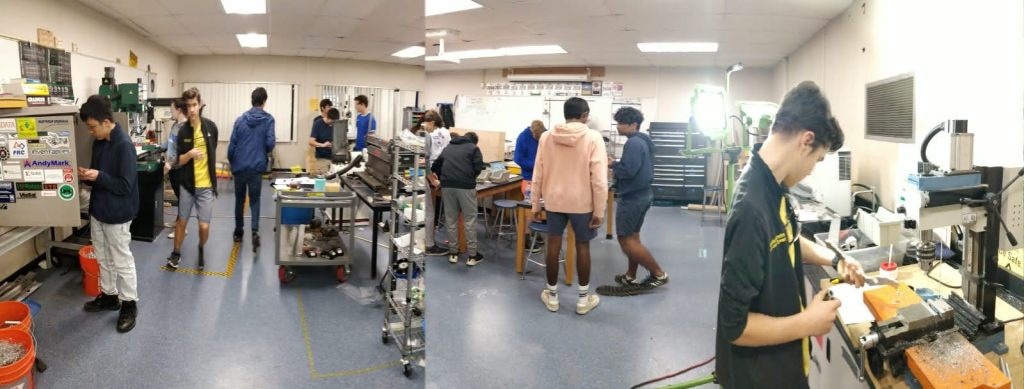
Finally, I leave you with one final picture to recap the day of the build team hard at work.