Some hiccups, some progress, but things are looking good. The tube adjustment mechanism was securely attached today (it was almost on yesterday) and most of on-robot time was spent with electrical. We had a shortage of crimps and therefore some soldering had to be done (which took a while).
Slight side note: We had crimps. To my knowledge we actually had enough crimps for all the motors on the robot. However, we did not have enough Anderson crimps. This type of connection has proven most effective for our team and the lack of Anderson crimps in some key locations (such as the intake motors) last year led to several motor failures and mishaps in-match as well as countless other problems with wire detachment. So, this year we are making sure not only that every connection is connected securely with Anderson connectors but also that there are zip ties on the connectors to ensure they don’t fail either (as it is still possible but unlikely).
So, because we were short on Anderson crimps, we had to spend a couple of hours soldering some connections. We actually took some spare crimps from practice tests and just soldered them onto the ends of the wires we needed to crimp. This way we are still able to have the versatility and modularity of the crimps. Because of this our initial deadline of 1 pm was far overshot and we actually finished wiring the robot around 5. Despite the delay, the connections are solid and secure and the various electrical problems we had last year don’t look like they’ll arise again.


We were unable to test the robot code after the robot was ready to go but we were nevertheless able to test out intake and tube geometry. We wanted to see a couple things. One, does the geometry for the intake work out and do the mecanum wheels actually funnel the ball in? Two, does the ball easily transfer from the intake to the tube? The first question was answered with a resounding yes as we saw that the balls could be thrown to basically the edge of the intake and they still got funneled to the middle. It works perfectly. Things might change a bit once we actually start driving but it seems good for now.
The second question’s answer is not as clear. We were sometimes able to get clear and flawless transfer between the intake and tube (as you can see in the video above) and sometimes not. Sometimes the ball would get stuck on the tubes at the bottom of the tube (as you can see in the video below) and sometimes it would stay in the little bit of a dead zone we have right now. We do have to add a plate under the chassis at that spot and it should hopefully help but we won’t know until we actually do it. In any case we’ll figure out a way to get it seamless. At the very least, the intake does its job and we will have a good amount of room for error on the driver’s part when picking up balls.
We also tested the clearance underneath the color wheel with the completed robot. If we make sure to stay down (ie. don’t do a wheelie) and keep the tube stowed low, we should have enough clearance underneath to pass through.
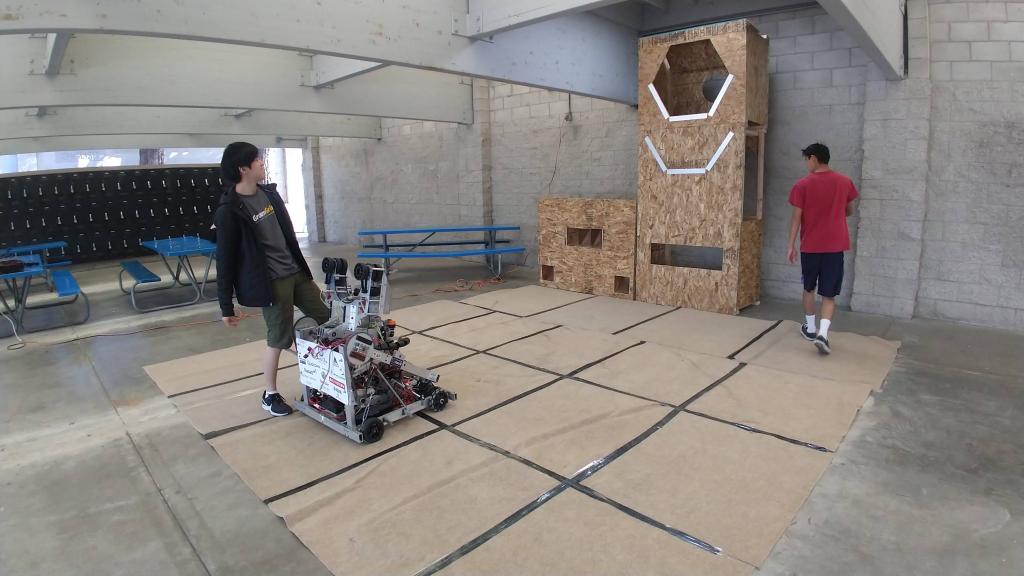
While this was going on, we also had some people work on setting up a field for us to use. We have the cleared out area near the lockers to use (which is protected from rain) to set up the tall port. We might have to bring out the climb at some point as well but we’ll see if it is necessary (it will require disassembly to move out). We’re also working on getting some new carpet out there for better testing.
While the robot was being wired, build finished up attaching the back plate for the upright beams for the climb. The first stage of the climb also had a good amount of progress. It seems complete for now (although I might be wrong and there might be a couple small things to add) and all that should be left is adding the second stage. Once we do that and get it all ready for the robot, we should be able to quickly put it on and wire (should hopefully take less than an hour).